Tip of the Day:
Ok so after struggling for 2 and ½ hours on learning how to add my Amazon AStore to my blogger account I figured I would write this how to for others who might need help.
First let me say for those of you who own, or run a blog adding an Amazon store to your blog is great for helping generate some extra revenue for your blog. Amazon receives millions of views for those whom are just browsing but they also have huge daily sales. Amazon Associates lets you set up an astore and will pay you a certain percent for people you refer that end up buying. Be sure to check out https://affiliate-program.amazon.com for more information on how advertising for Amazon can help you.
For those whom already have an Amazon associates account let’s get into how you can add your store widget to blogger.
Step 1
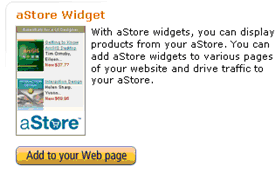
Assuming that you have already set up an aStore log into your Amazon Associates account and select the widgets tab.
Step 2
Step 2
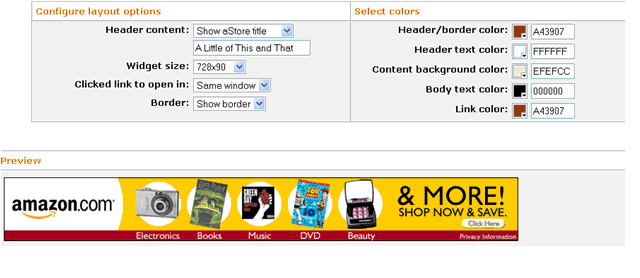
You will see a page pop up that gives you the opportunity to customize your widget. I found that for those using blogger, and wanted the ad to be long and not so wide that “120 x 600” worked best for me. It is important to note that when a user clicks the link it can open in their current browser or in a new window. For my personal blog I chose a new window so that my readers can remain on my page while they shop. Utilize the preview box so that you can see how your ad will look depending on the specifications that you picked.
When everything looks correct, or to your preference, you will notice this box at the bottom of the page. Be sure to save the html code because you will need it when you set up your store on blogger.
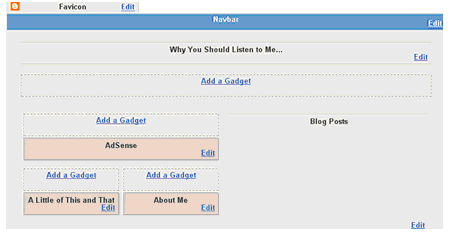
Now for the blogger portion. Once logged into blogger, click on the Design tab. There will be many boxes that say “Add a gadget”. Decide where you would like your aStore to be placed and click Add a gadget.
My store is entitled A Little of This and That, and you can see above that I chose to place it on the left side of the screen. If yours is blank you will click Add a Gadget.
Step 5 (I lost count)
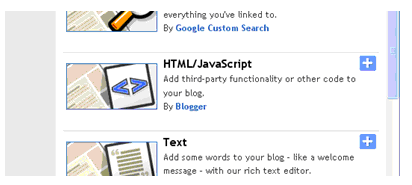
Blogger is user friendly in this regard. You will see a pop up box with the many different gadgets that you can add to your blog page. For this exercise you will click HTML/JavaScript.
Step 6
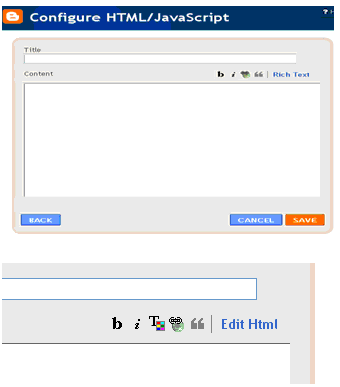
You will get another pop up box that looks like the one below. This is where you will paste the html code that you derived from Amazon earlier. Be sure to click the blue link that says rich text when this box pops up because you want it to display edit html.
Make sure you type in the title of your store, and paste in the HTML code from the Amazon Widget that you set up with Amazon. It is important that you use the Amazon widget html code as other methods of adding your store will give you sizing problems. You can then click Save, and then preview your blog. Good Luck!

Thank you so much!!! You made it easy, I had been struggling off and on for a few days trying to figure out how to make it work.
ReplyDeleteNo problem thank you for your feedback
ReplyDelete